

Locust
Moves in little hops. When it turns red, it charges.

Bramble Birds — Map 4/6
The sand breathes — and it pushes back.
The Sea of Sand adds thermals: columns of hot air that punch straight up through the arena and shove you off your rhythm if you're caught in one.
Locusts hop in fast, dung beetles lob a ball of mud that bounces three times, spiny rollers curl up and bounce clear across the dunes, and vultures glide overhead, dropping bones straight down.
Hazard: Thermals punch up through the sand and shove you off your rhythm.
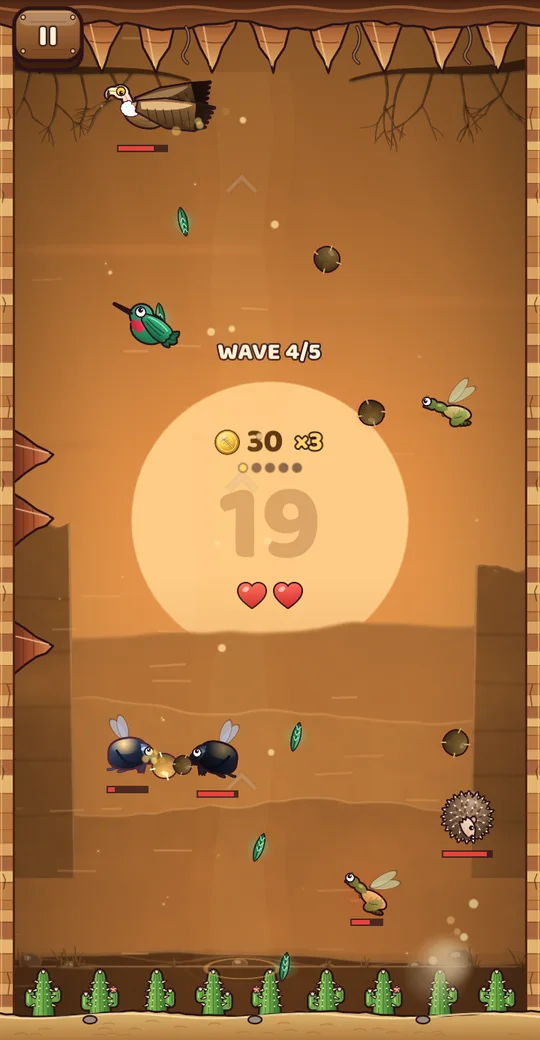
The 4 enemies you meet across this map's waves, in the order they first show up.
Moves in little hops. When it turns red, it charges.

Throws its ball of mud at you; it bounces three times before breaking apart.

Curls into a spiky ball and bounces across the dunes, each hop at its own height.

Glides overhead. When it squawks, it drops a bone right below.

This boss stays in shadow until you beat The Sea of Sand for yourself — no spoilers here.
Win “The Jungle River”
Winning it opens The Frozen Abyss and the next difficulty on this map.
Every map, including The Sea of Sand, has the same 4 difficulty tiers.
| Difficulty | Rules |
|---|---|
| Easy | No extra rules. |
| Medium | Shop 25% pricier and enemies 10% faster. |
| Hard | Plus more enemies at once, with 10% more health. |
| Hell | Plus one more spike per wall, nest twice as pricey and a boss with +50% health that attacks more. |
Hell is the final difficulty tier. It opens on a map when you win that map on Hard, and it stacks every earlier rule: one more spike per wall, a nest that costs twice as much, and a boss with 50% more health that attacks more often.
Endless mode opens once you have won “The Bramble Forest” twice. After that, the Endless run of each map opens when you win that map in Story mode, on any difficulty. Once you down the boss, the waves never stop: every fifth one brings back the boss, tougher each time.